AXIR Wallet
Help Center
Explore instructional guides and insights to elevate your AXIR Wallet journey.
What is an Asset?
-
1Cryptocurrencies: These are digital currencies that utilize cryptography for secure transactions and operate on decentralized blockchain networks. Examples include Bitcoin (BTC), Ethereum (ETH), and Ripple (XRP).
-
2Tokens: Tokens are digital assets created on existing blockchain platforms, such as Ethereum, using smart contracts. They can represent a variety of assets or rights and are often used for specific purposes within decentralized applications (DApps) or blockchain ecosystems.
-
3Non-Fungible Tokens (NFTs): NFTs are unique digital assets that represent ownership or proof of authenticity of digital or physical items, such as artwork, collectibles, or virtual real estate. Each NFT is one-of-a-kind and cannot be replicated, making them valuable for digital ownership and provenance.
-
4Stablecoins: Stablecoins are cryptocurrencies that are pegged to the value of fiat currencies (e.g., USD, EUR) or other assets to minimize price volatility. They provide stability and are often used for trading, remittances, or as a store of value.
-
5Security Tokens: Security tokens represent ownership or investment in real-world assets, such as stocks, bonds, real estate, or commodities, and are subject to securities regulations. They offer the benefits of blockchain technology, such as increased liquidity and fractional ownership.
How can I send any asset?
To send or receive any assets on our Wallet, you need to have AXIR Wallet. How to download and create your wallet, refer our article on the same.
Now that you’ve our wallet installed and registered your account, sending any asset is just a few clicks away.
Step 1:
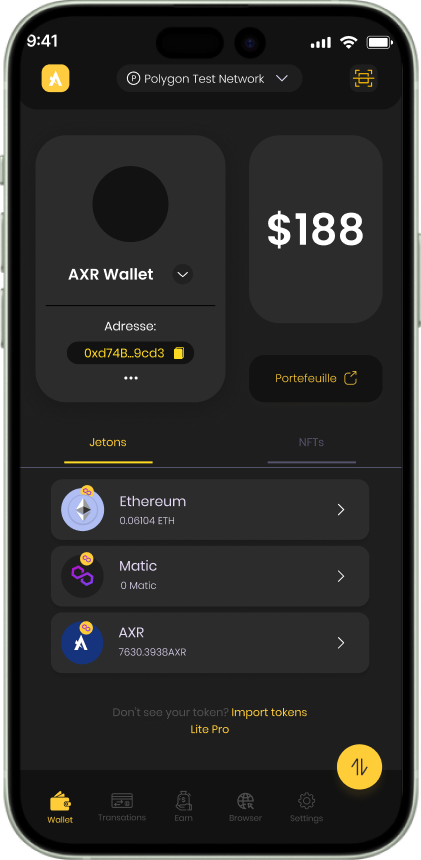
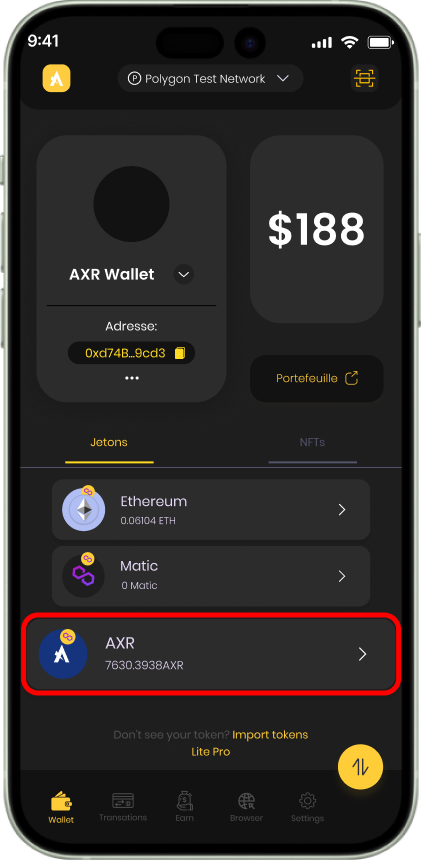
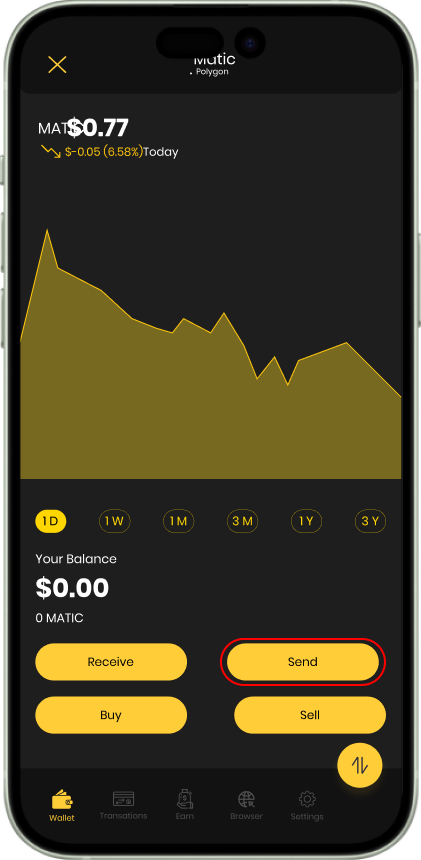
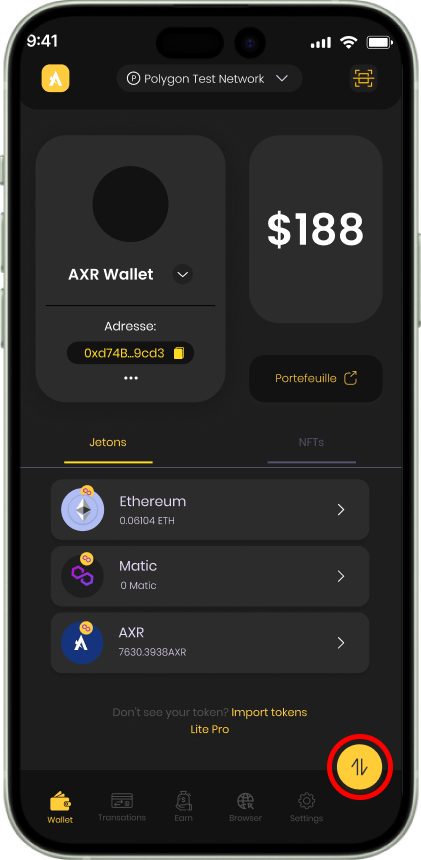
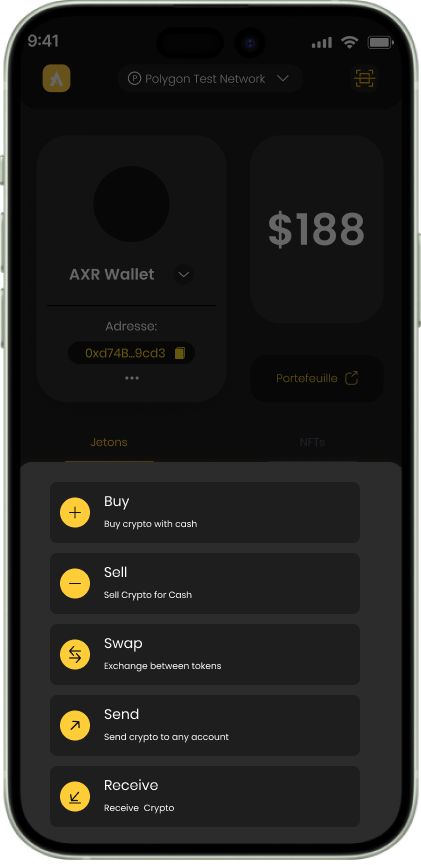
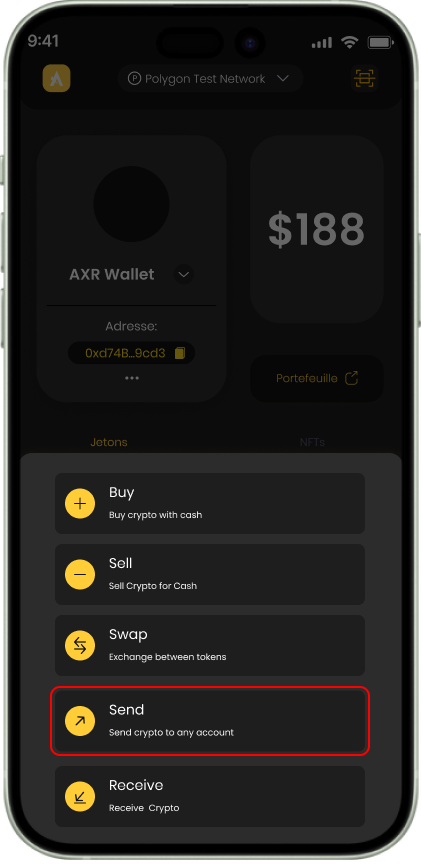
Once logged in to Axir Wallet, simply navigate to the AXR section.
Here, you’ll find the “SEND” option easily accessible.
When sending your assets, you have two convenient options:
-
AScan Address: Easily copy and paste the wallet address you intend to send tokens to, or effortlessly scan the QR code of the recipient's wallet address.
Click on the Scan Address and you will be taken to the Side screen
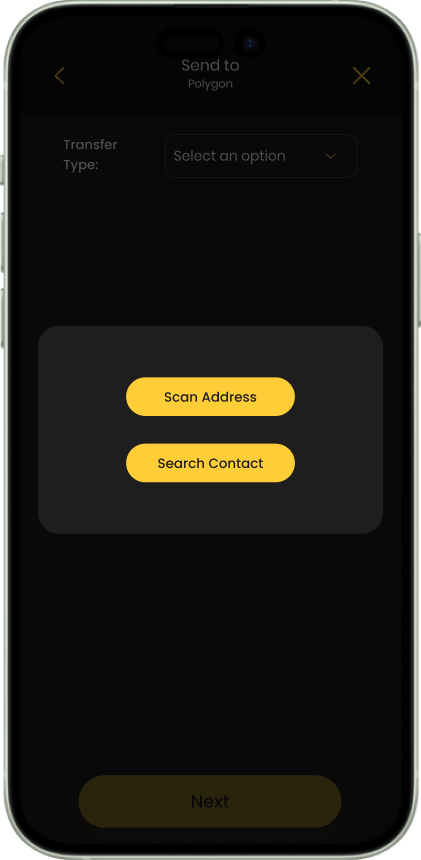
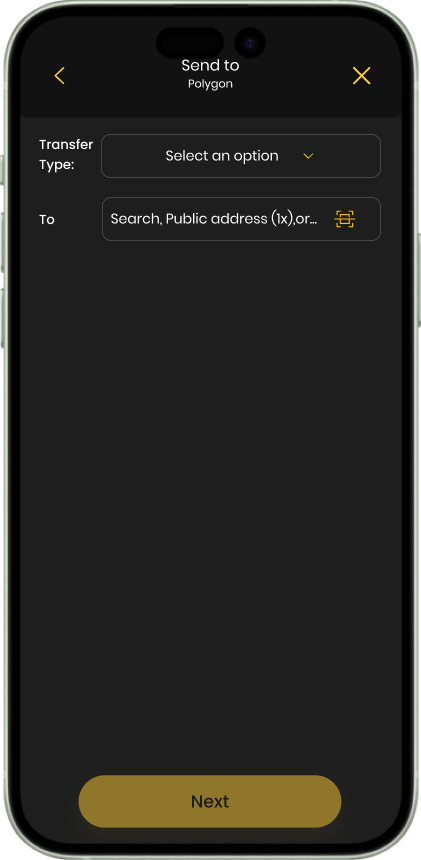
Enter the wallet address in “To:” where you wish to send the token.
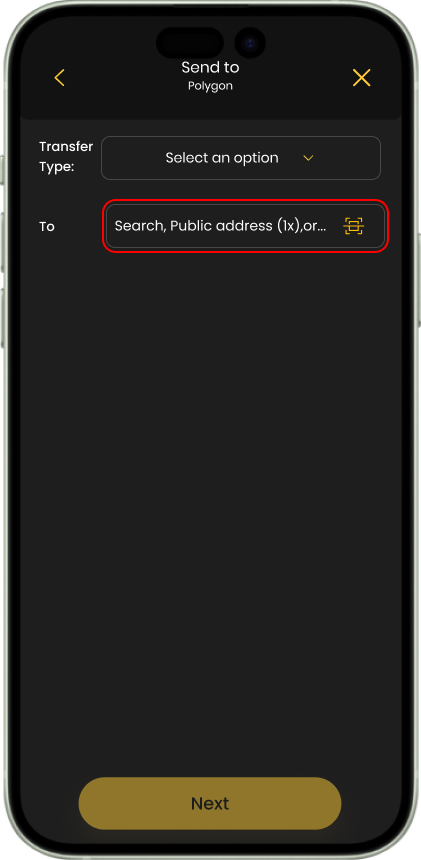
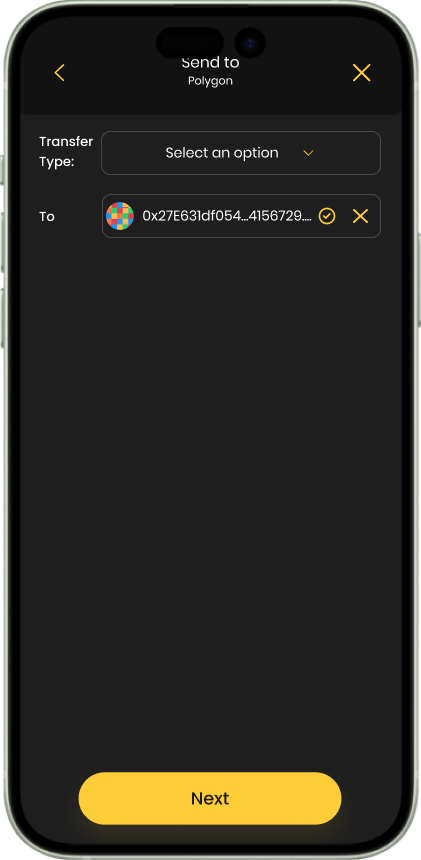
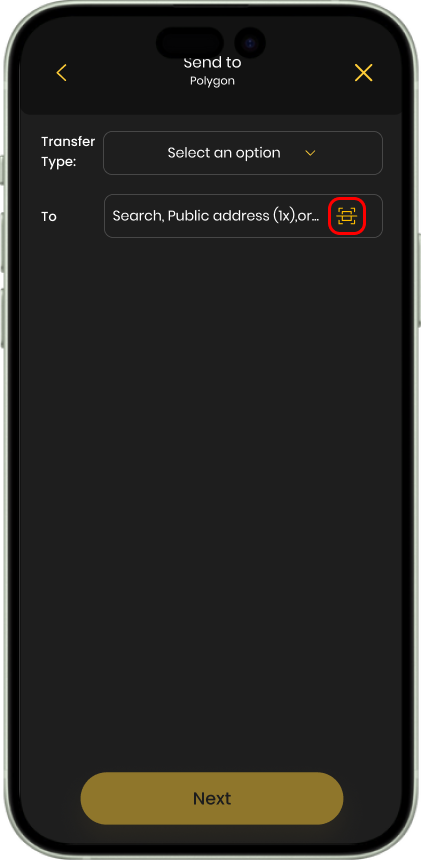
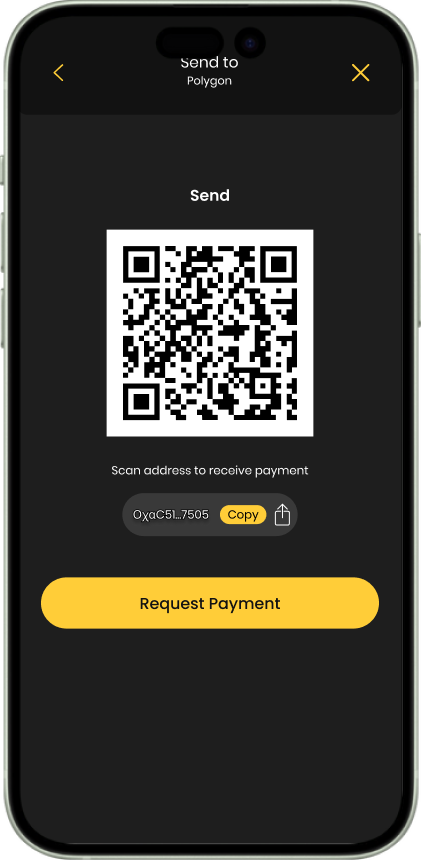
When the scanning of QR Code is done, it fetches the wallet address of the recipient automatically.
After entering/Scanning the Wallet address, click on “Next” button.
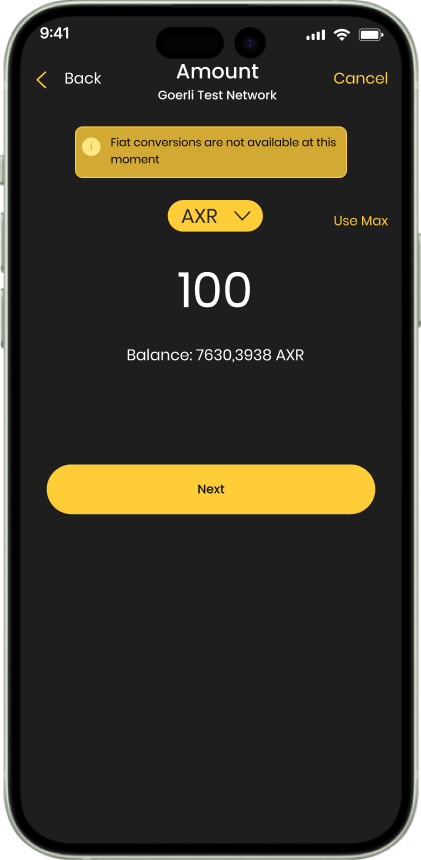
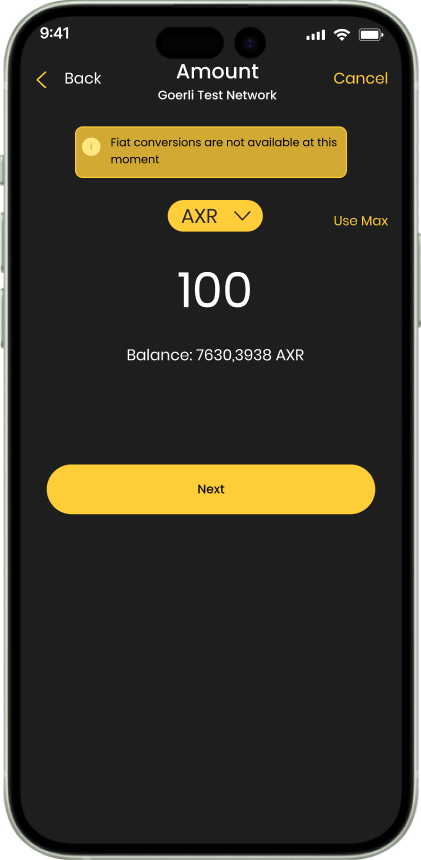
In the next screen, you will enter the amount to be sent.
Click on “Next” to get to the below screen.
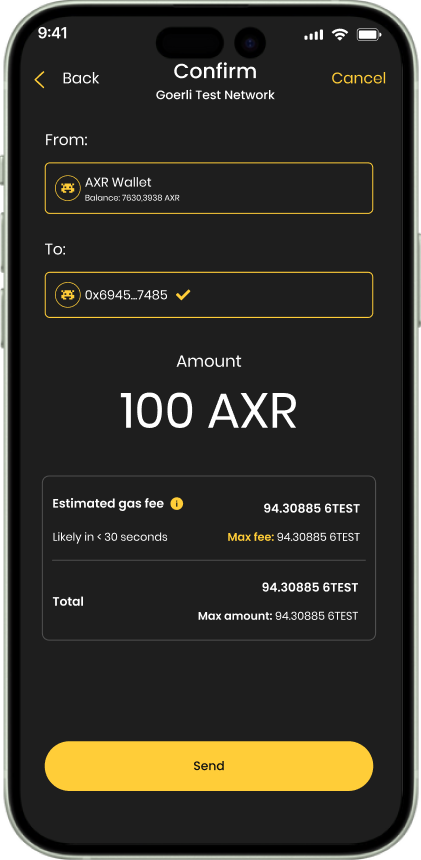
On this screen you will se the details like Amount that was entered by you, then the estimated Gas fee and the total amount that will actually be transferred to the entered Wallet address. Once you are through with these details you will now tap the “Send” button.
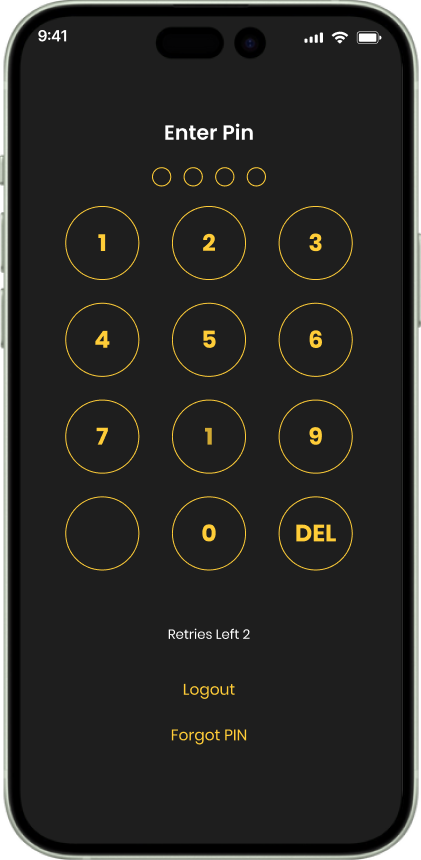
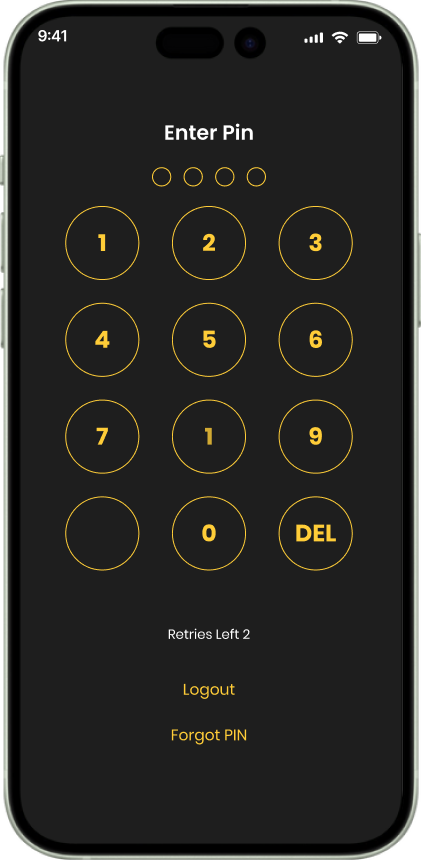
Which will take you to the Enter PIN screen / Confirm your Face ID if enabled.
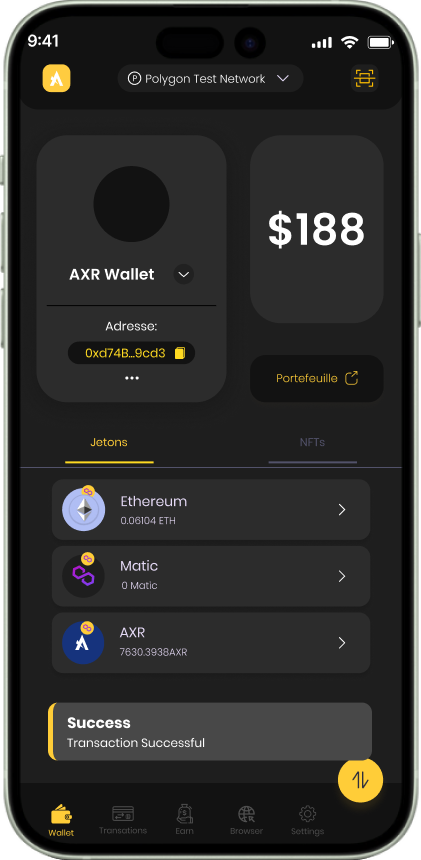
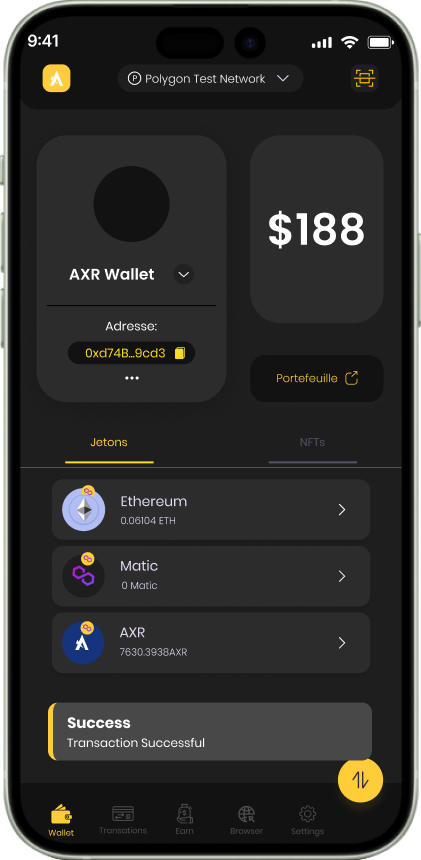
After entering the correct PIN or passing the Face Id, in few seconds you get the transaction Successful message.
-
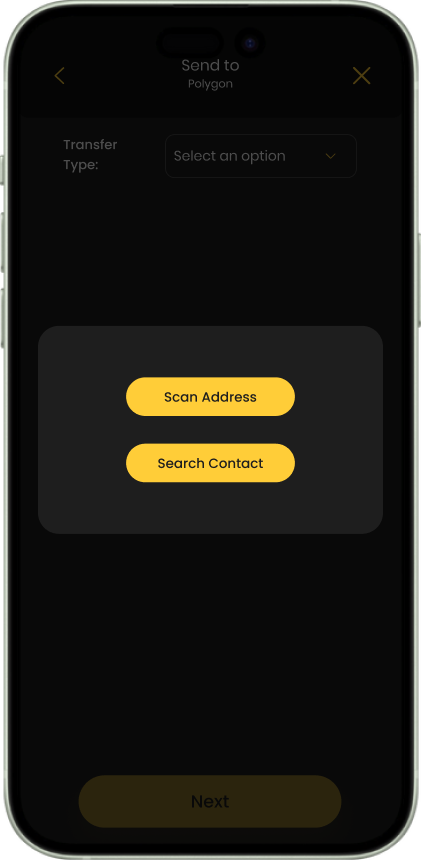
BSearch Contact: Utilize this feature to browse through your contact list. After you click on Send you will see two options as “Scan Address” and “Search Contact”
Select “Search Contact”
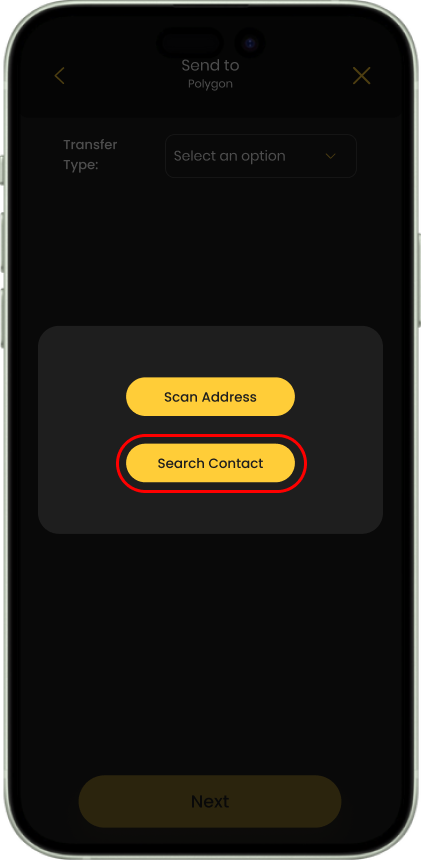
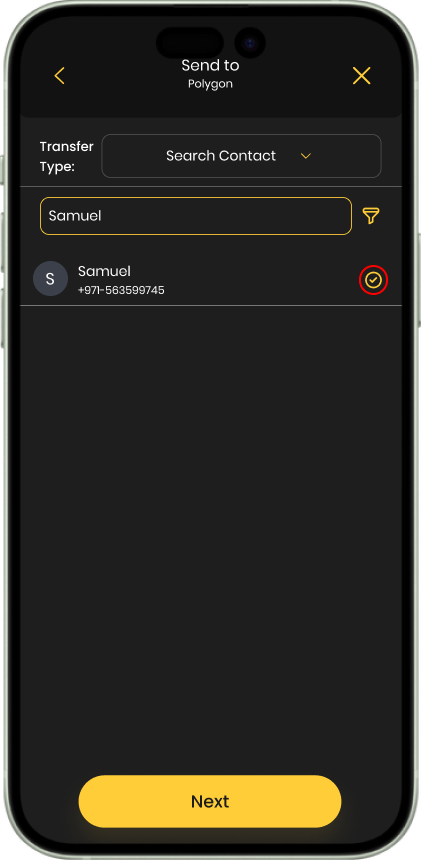
After you click on “Search Contact” it will open your phone / Device contact list with search box. You can Type your contact name in the search box and find the contact directly.
Here you will see contacts who have Axir Wallet installed will be highlighted with a distinctive yellow tick mark. You can select the desired contact from the list or use the search function to locate them directly.
After you select your desired contact, it will fetch their address automatically.
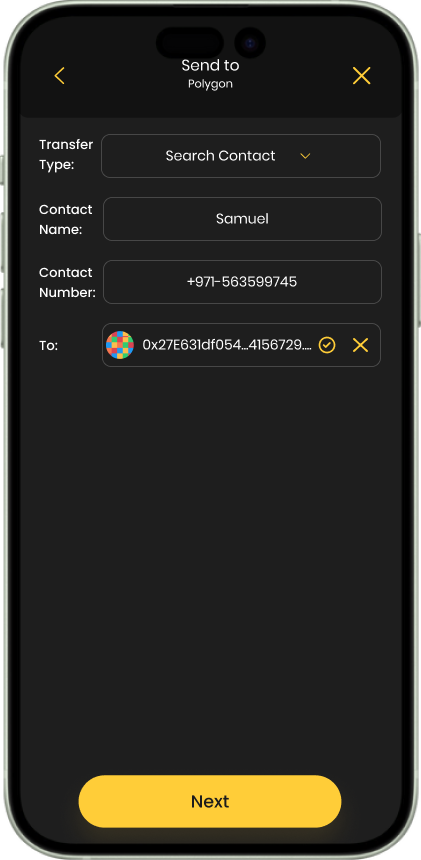
Click on “Next” to get to the below screen.
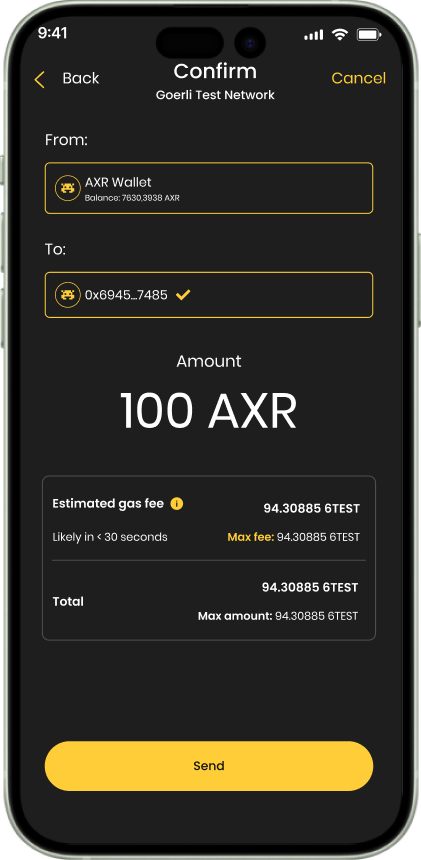
On this screen you will se the details like Amount that was entered by you, then the estimated Gas fee and the total amount that will actually be transferred to the entered Wallet address. Once you are through with these details you will now tap the “Send” button.
Which will take you to the Enter PIN screen / Confirm your Face ID if enabled.
After entering the correct PIN or passing the Face Id, in few seconds you get the transaction Successful message.
